

If you're looking for a student laptop in 2020, there are a few things you should take into account, such as processing power, battery life, durability, and cost. Taking these constraints into account, many buyers will choose a new Chromebook, which can be bought for about $200. Well, this school year, I was one of those buyers, but I didn't want a Chromebook for many reasons (inability to run various software, zero durability/cheap design, low performance per $, etc.). I had a budget of about $200, so I started looking for laptops around that price.
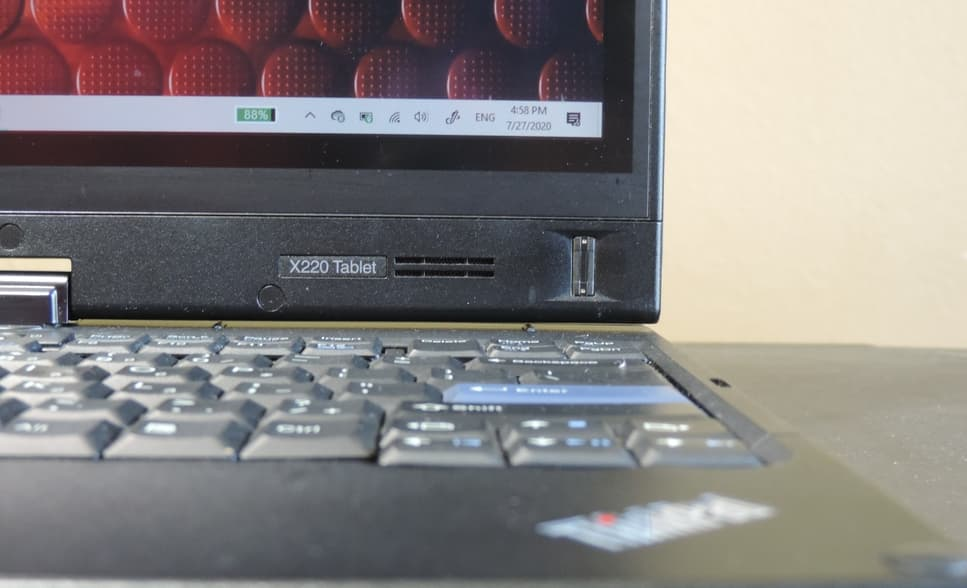
Eventually, I stumbled upon the ThinkPad X220. It's specs were more than enough for my use case - an i5 or i7 processor, up to 16 gigabytes of RAM, and SATA 3. Apart from the specs, the Thinkpad had a great support community, and it is widely regarded as an industry standard for durability. After finding out so many great things about this laptop, I started looking for them on eBay, and I was truly surprised to find one for only $105. It had 4 gigabytes of RAM, a mechanical drive, and an i7 processor. It was also a tablet version with touch and stylus support, which is an added plus.
I found that I'd have to spend about $30 for an SSD upgrade, and I already had 8 gigabytes of Crucial memory on hand. With this in mind, the total cost would be less than $140. Since this was a great deal and well within my budget, I pulled the trigger on the laptop.
Upgrades
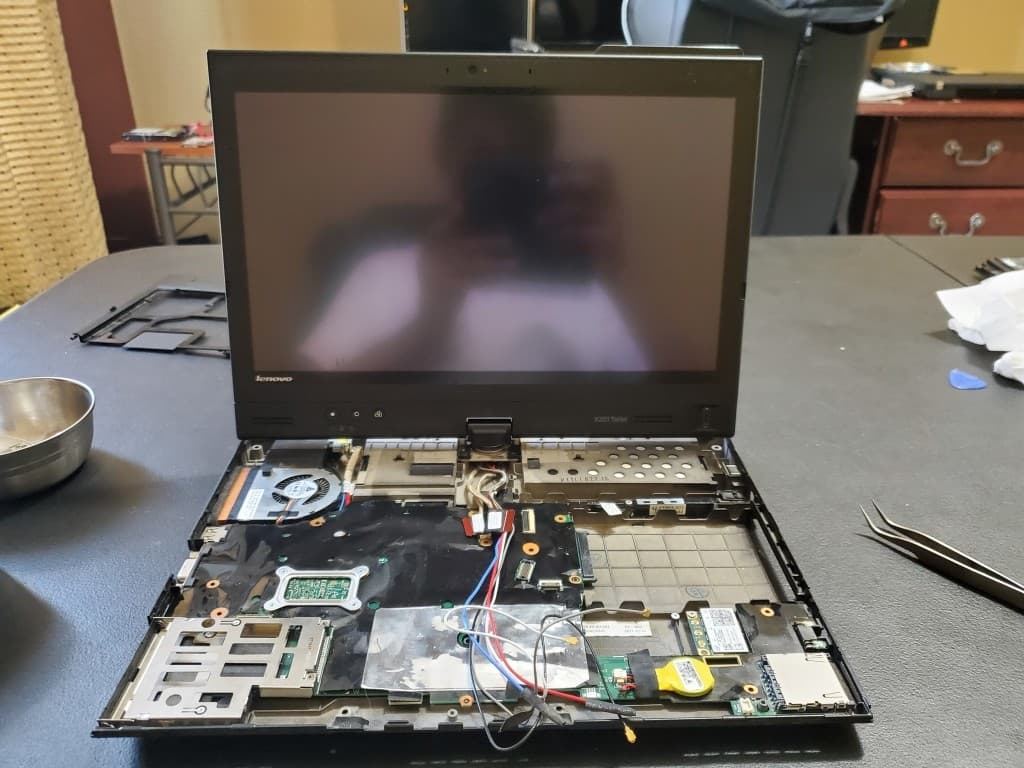
A week later, the Thinkpad arrived at my doorstep. After unboxing and cleaning the laptop, I began the SSD and RAM upgrades, which went smoothly due to the easy access to the drive and memory bays. After the hardware was installed, I installed Windows 10 using the Media Creation Tool. (The only reason I didn't use Linux is software required for school that only runs under Windows/Chrome OS/MacOS) With Windows installed, I installed Lenovo Vantage, a computer management software that allows you to use your Thinkpad's hotkeys, set a battery charge threshold, and more. I also installed the tablet button drivers, which allow you to use the display flip, ctrl+alt+delete, and dedicated sleep buttons on the left side of the display.
My experience
At the time of writing, I have been using the Thinkpad X220T for about 2-3 weeks, and it has been great. Here are a few things I have done on this laptop:
- Typing documents
- Making this website
- Administering my servers through SSH
- Video editing/production (I use an external display for higher resolution)
- Watching 1080p video
- Web browsing
- 3d design/ rendering in Blender
- And I can still get 5-6 hours of battery life! (Out of a new battery)
A (kinda) Unexpected Upgrade
One thing I did notice with the X220T, though, was that it would get pretty hot (I'm talking over 95C!) while doing CPU-intensive tasks like rendering video. Because of this, I replaced the thermal paste on the CPU, pulling the temps down by about 10C at idle and 15C under load. The paste I used was Arctic MX-4, a non-conductive paste that is extremely effective. I've summarized the steps for repasting the CPU below, but I still recommend you watch a video before attempting to do so.
NOTE: THE INSTRUCTIONS MAY BE SLIGHTLY DIFFERENT FOR THE REGULAR/TABLET MODELS
1. Begin, as always, by removing the battery
2. Remove the drive bay cover and the drive
3. Remove the keyboard & palmrest screws
4. Remove the keyboard and palmrest, and disconnect the ribbon cables
5. Remove and unwind the wireless card wires.
NOTE: REMEMBER WHERE THEY GO SO YOU CAN PUT THEM BACK CORRECTLY
6. Remove the screws holding the plastic shield down from the top
7. Remove the two remaining screws on the bottom case and in the battery compartment
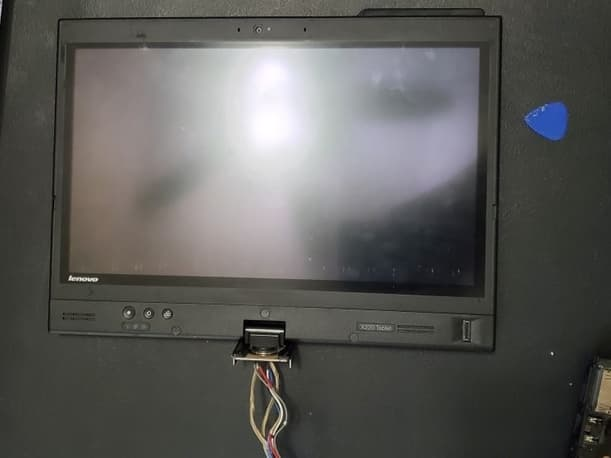
8. Rotate the screen and pull out the plastic shield
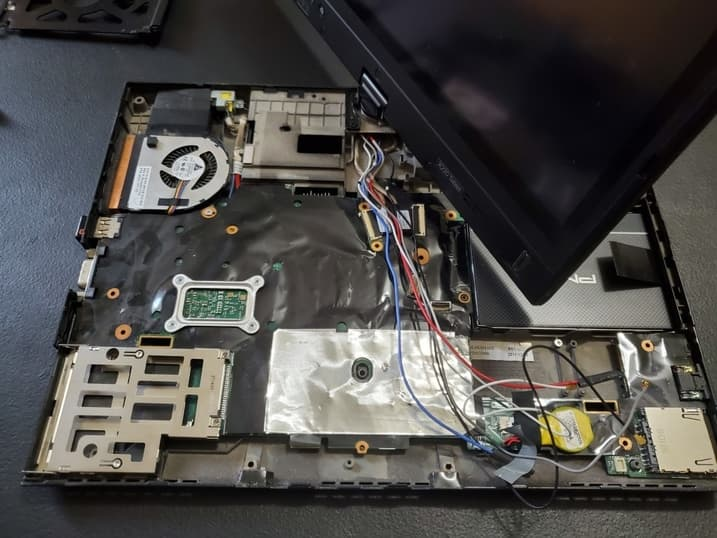
9. To remove the motherboard, you have to remove the screen
10. Remove the screen ribbon cables on the board
11. Remove the four screws that hold the hinge in place
12. Lift the screen out of the body
13. To remove the motherboard, use pliers to remove the VGA connectors, which hold the board in place
14. Remove the two screws inside the ExpressCard slot
15. Remove the wireless card screw, which also holds down the board
16. Finally, remove the pen insert detector and lift the motherboard up and out
17. While lifting up the motherboard, disconnect the AC power cable
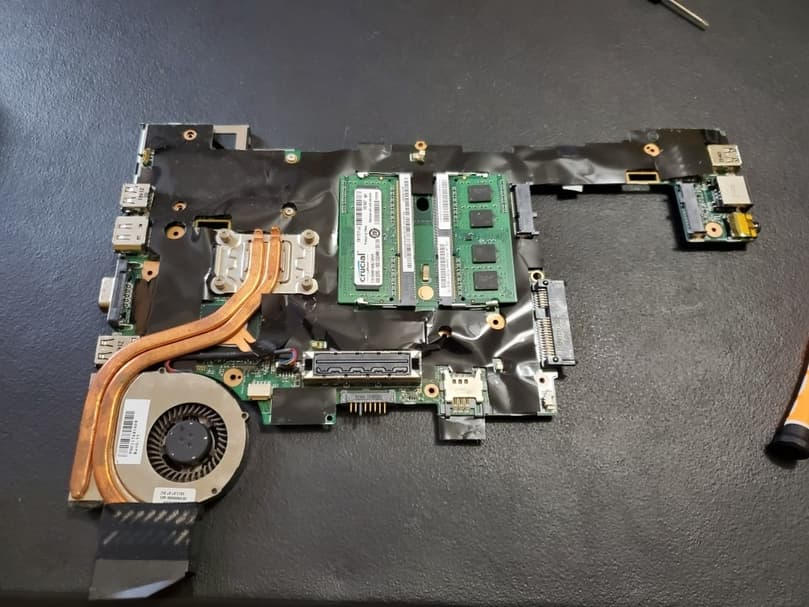
18. Remove the CPU fan connector and the piece of tape holding it in
19. Remove the four screws holding in the CPU fan and lift it off
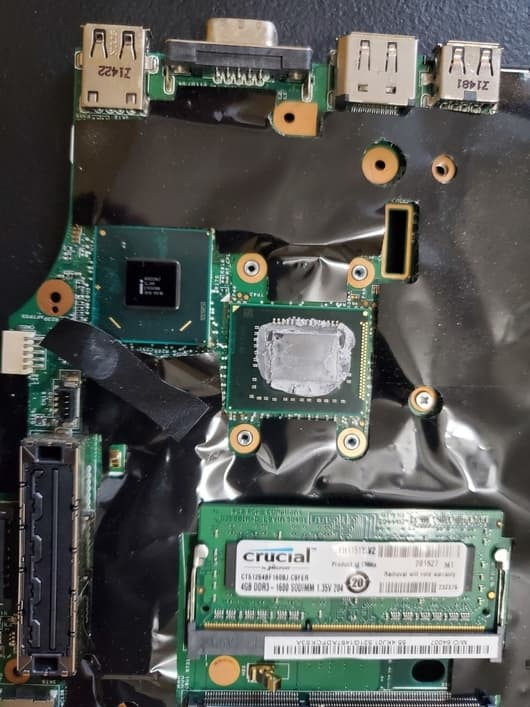
20. Clean off the thermal paste from the CPU and fan using isopropyl alcohol and q-tips
21. Apply the new thermal paste and spread it over the CPU die
22. Reinstall the fan and screw it in so it's flush with the CPU
23. Reinstall the motherboard, display, shield, wireless card, keyboard, palmrest, SSD, and battery in that order
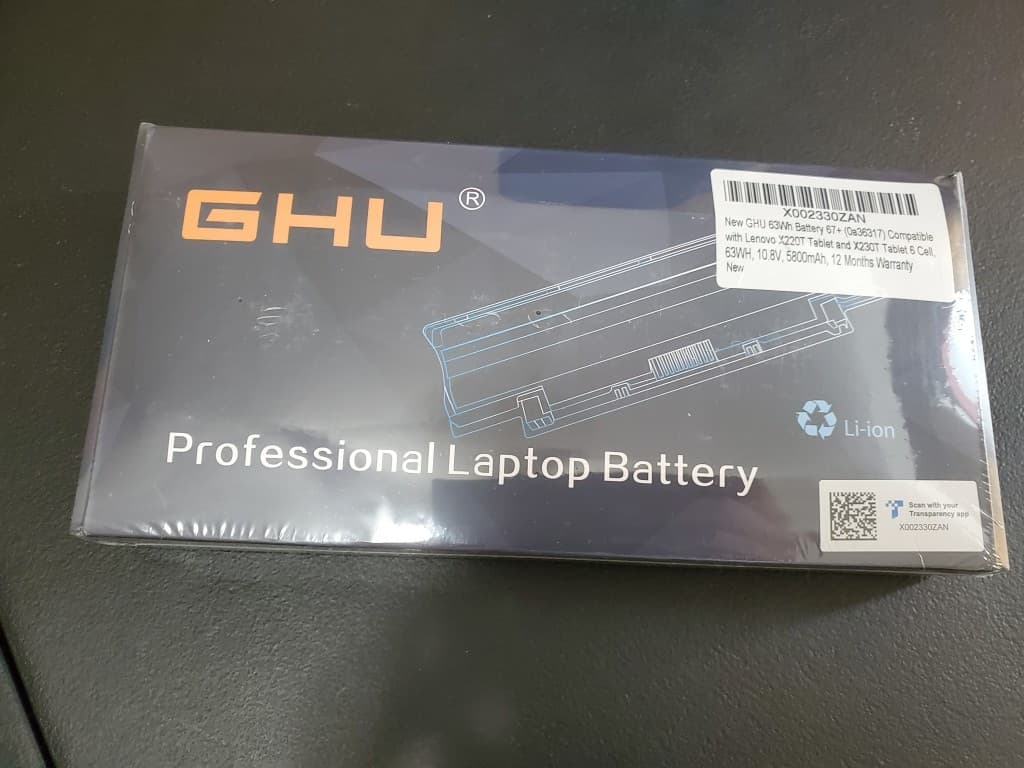
I also replaced the battery with a new GHU 6-cell, which gets 5-6 hours on a charge.
Conclusion
In conclusion, the X220/T is a great laptop for students and is very easy to upgrade to suit your needs. It can tackle many intensive tasks, and will easily survive your years at school. You can buy an X220 for yourself here and you can watch my full video here.